
Всем привет, друзья!

 Then a grabbed other embelishments matching to my idea and began creating.


У меня сегодня для вас летний, сочный и яркий проект, в котором мне хотелось поймать то счастливое и беззаботное настроение, которое бывает только летом!
Ко мне, почти случайно, попала фотография Маши, очаровательной и неугомонной, моей хорошей знакомой по нашей скрап тусовке в Ростове. И когда я стала выбирать фото для проекта, я вспомнила именно об этом снимке, каждый раз вызывающим у меня улыбку;) Девушка - лето, не иначе!
По этой работе я частично сняла мастер-класс, который вышел сегодня в блоге Lindy's, и я продублирую его здесь.
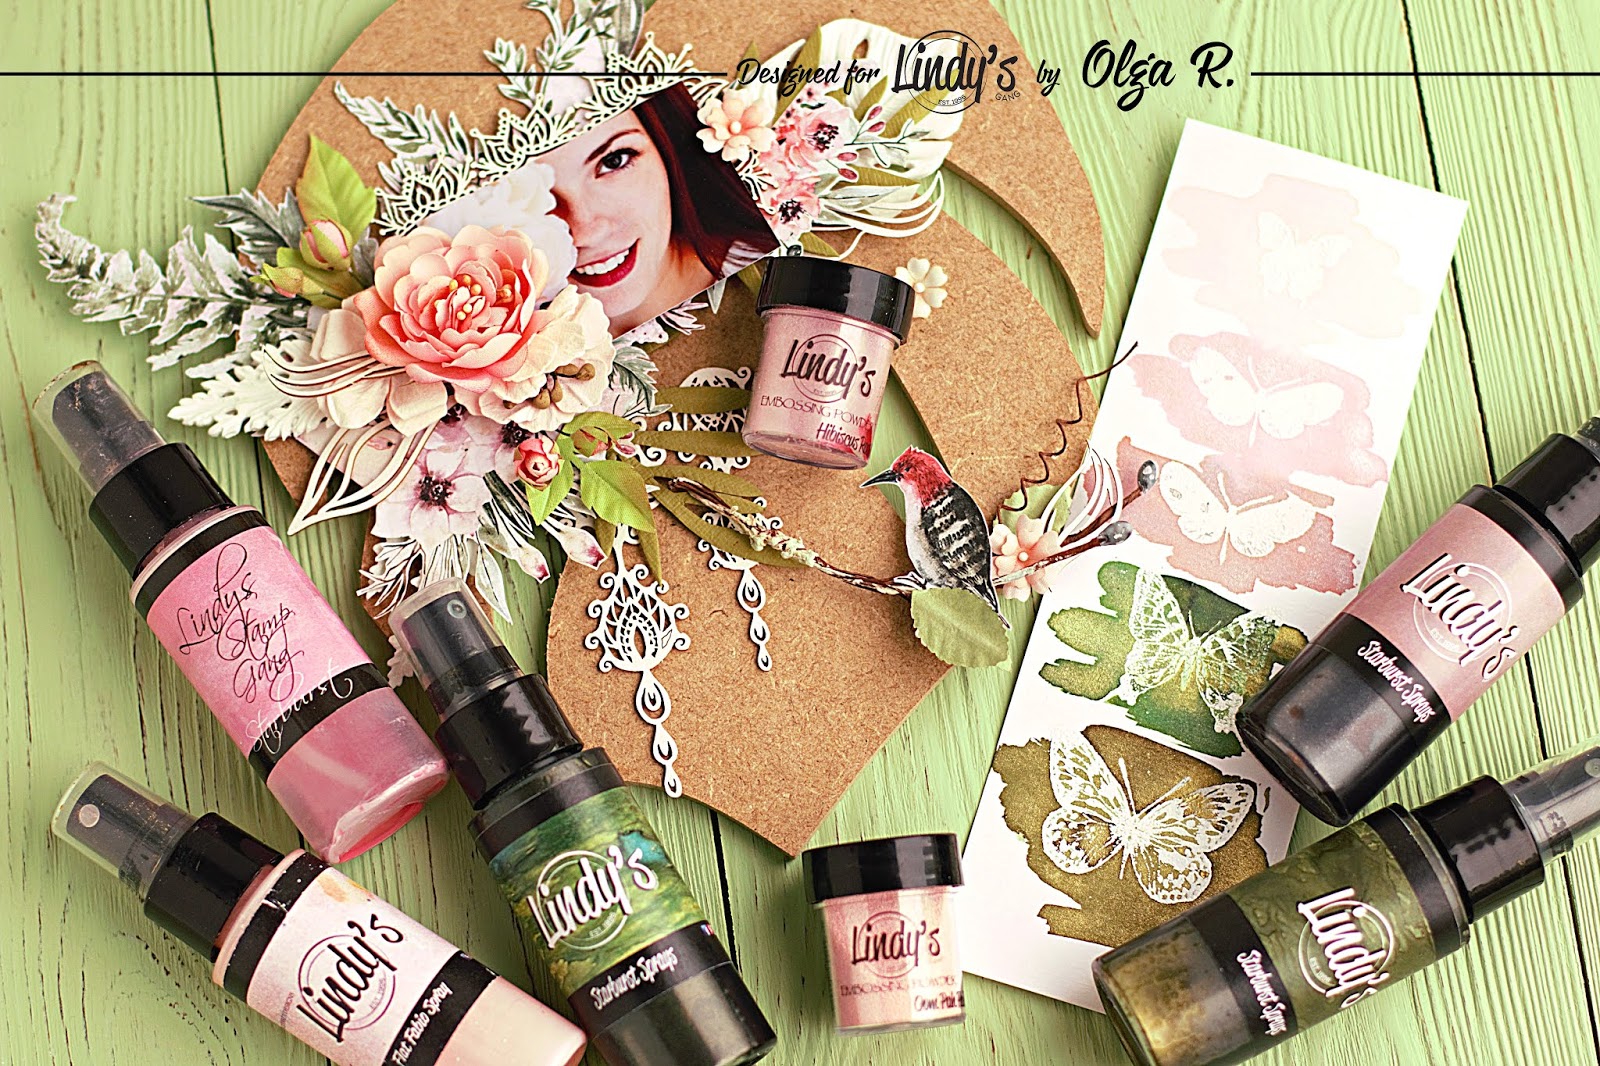
Для основы панно я использовала МДФ заготовку от Woodouts, в качестве декора - чипборд Scrapiniec, тканевые цветы от Рукоделушки, бумагу из коллекции Secret Place от Mintay Papers, цветы от 49 and Market, a также классные фигурки из молдов, подаренные мне Наташей Трофимовой во время Байкальских Скрап- Каникул.
Спреи и пудры - конечно, Lindy's! :-)
Ну а теперь сама работа и мастер-класс к ней.
*******************************************************************************
Hi gorgeous Lindy's friends!
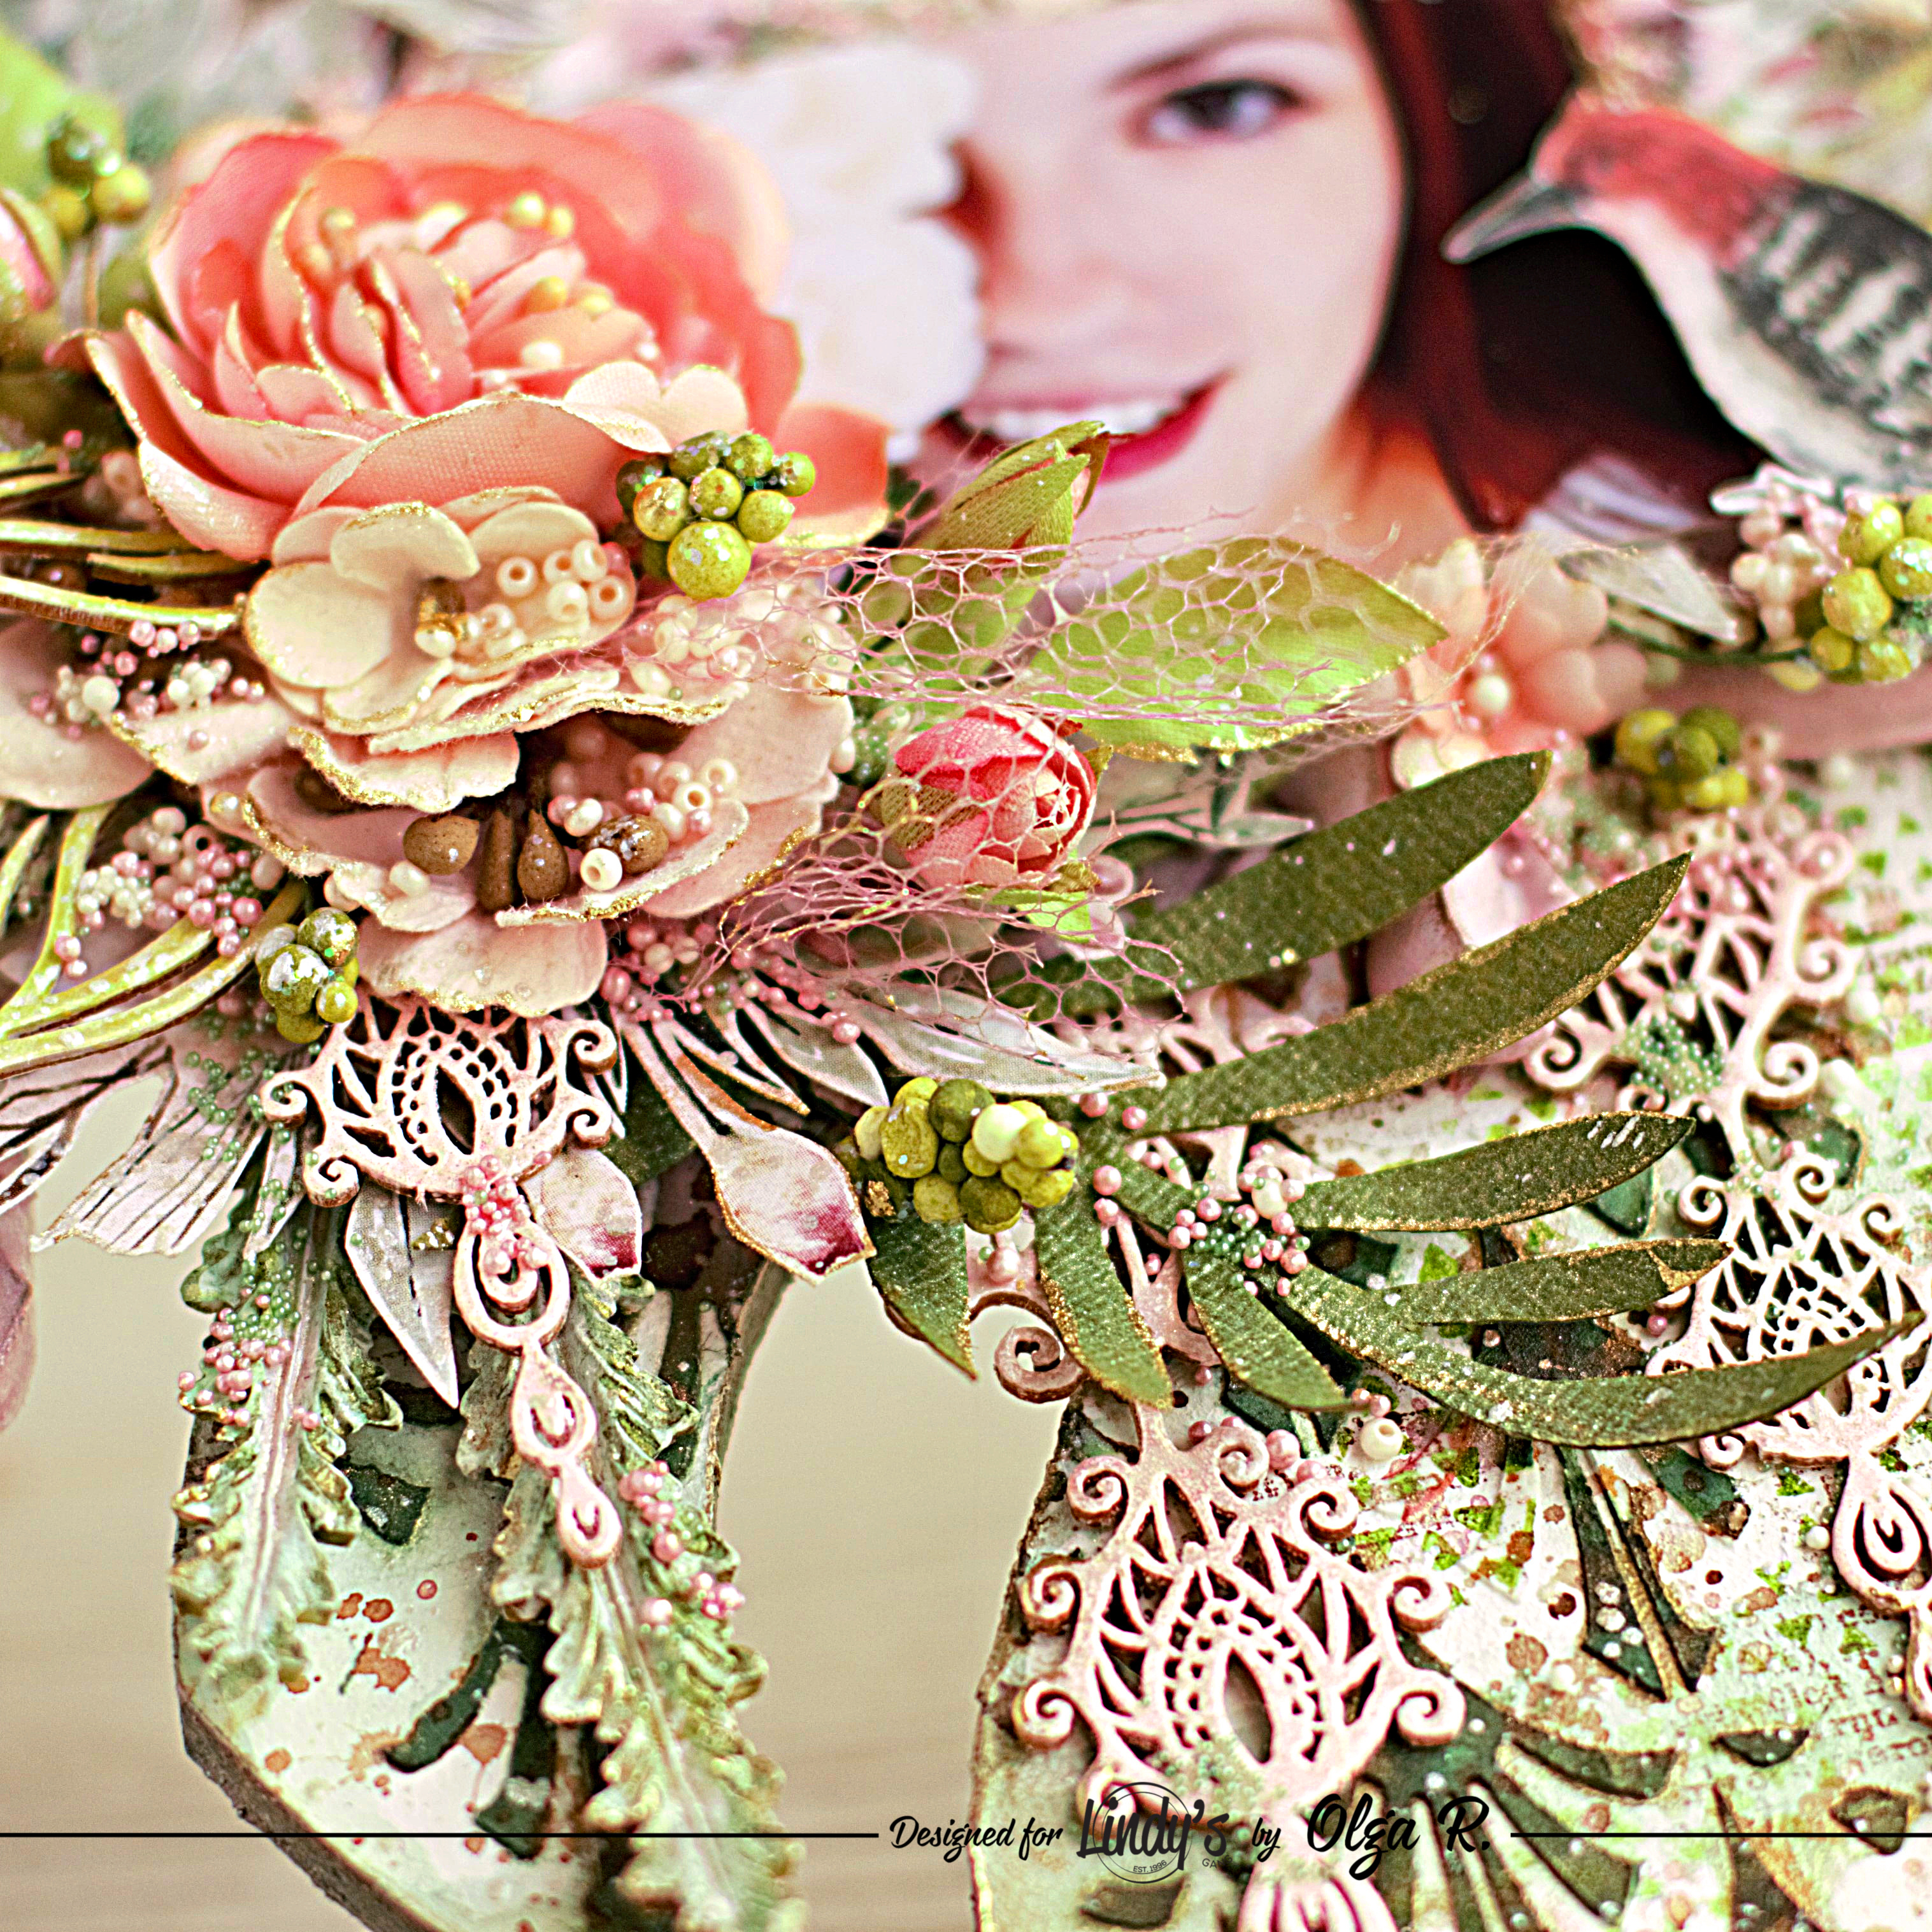
It's Olga Ravenskaya here with my new project - Monstera panel.
I wanted to create something summery and bright to catch memories of that
wonderful summertime and my charming and fun scrapfriend.

As a first step I've made a color pallete mixing my new greens, Ponderosa
Pines Olive and Green with Envy Green Starbursts, which I recently got, so very
beautiful Bodacious Blush and two pinks - soft Cotton Candy and light, creamy
Chateau Rose.

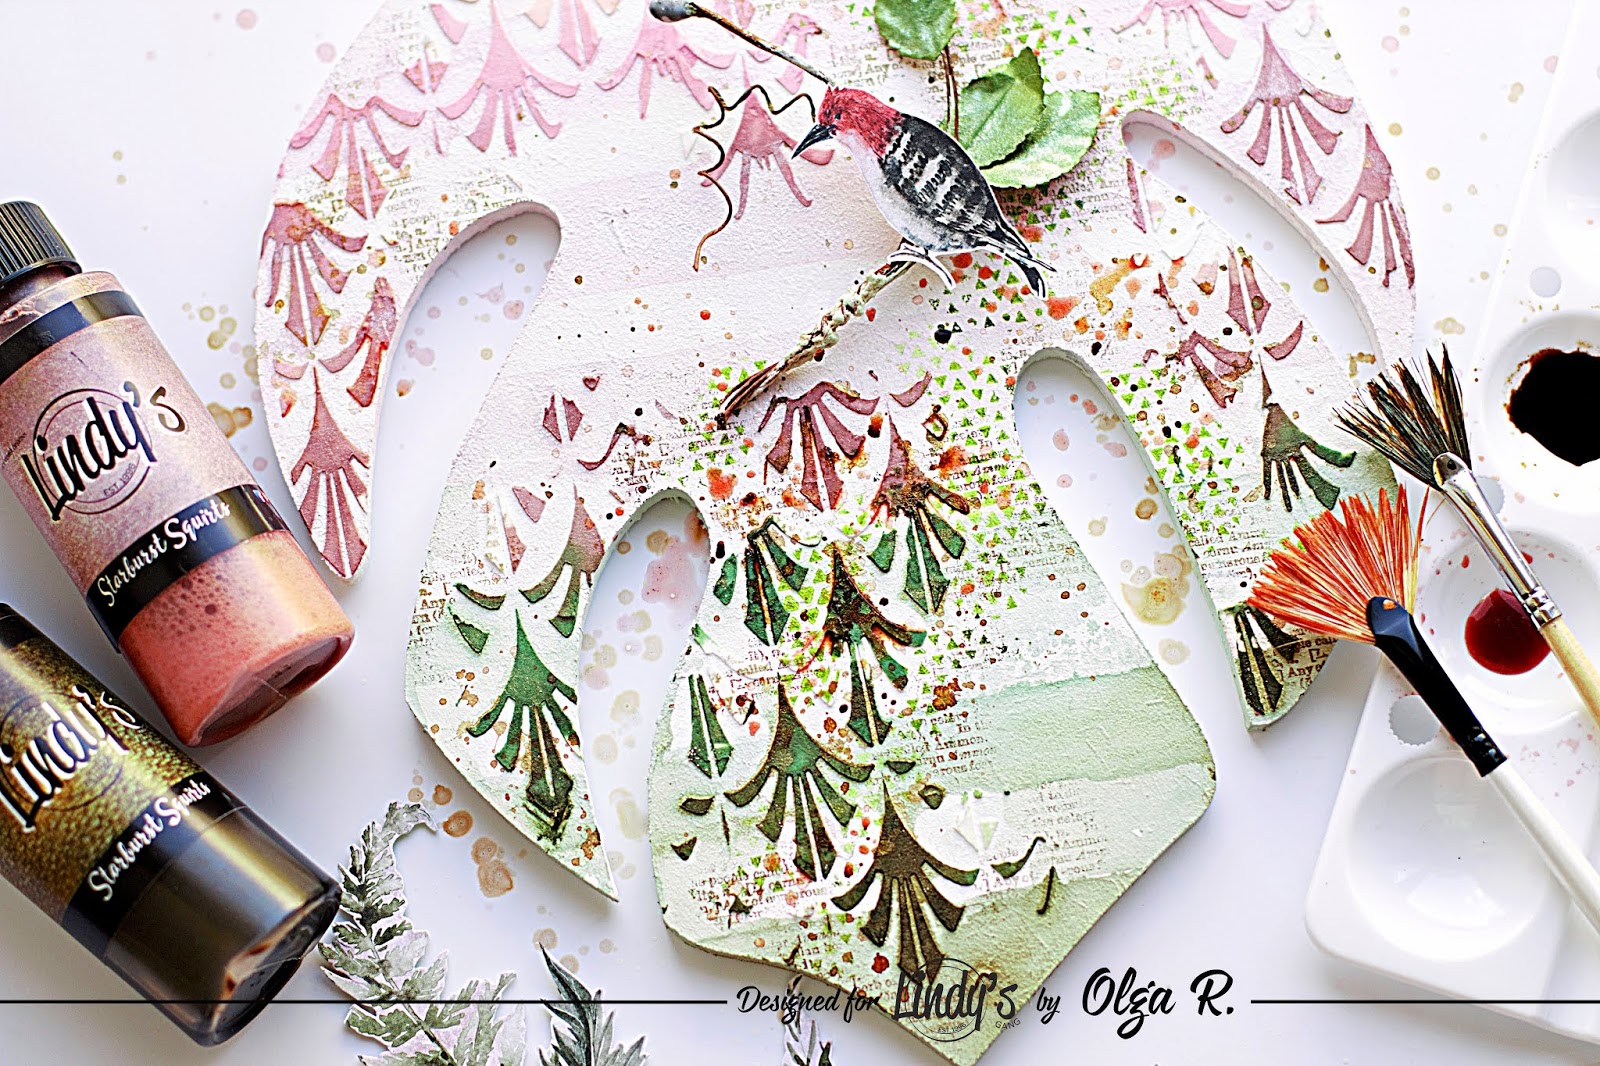
I'm showing you today a quick way of creating a bright and attracting
background using sprays and squirts.
Firstly I covered MDF monstera base with a white gesso and applied a white
modelling paste through the stencil.

The easiest way to create a striped background is to use masking tape. Just
fix it stripe by stripe on your piece as on the photo below.

Then I've grabbed my sprays and applied them using brushes stripe by stripe
according to my color combo, from creamy pink to khaki green.

Remove the masking tape and you'll get beautifully painted surface!
Look at this effect - the stencil's pattern has been painted much deeper
because of its porous surface than the flat parts and it makes a gorgeous
contrast.

I've stamped a bit using color Stazon inks.

And at the end I've added some splats of Canadian Bacon Blush and Beaver
Tail Brown Squirts using fan brushes.
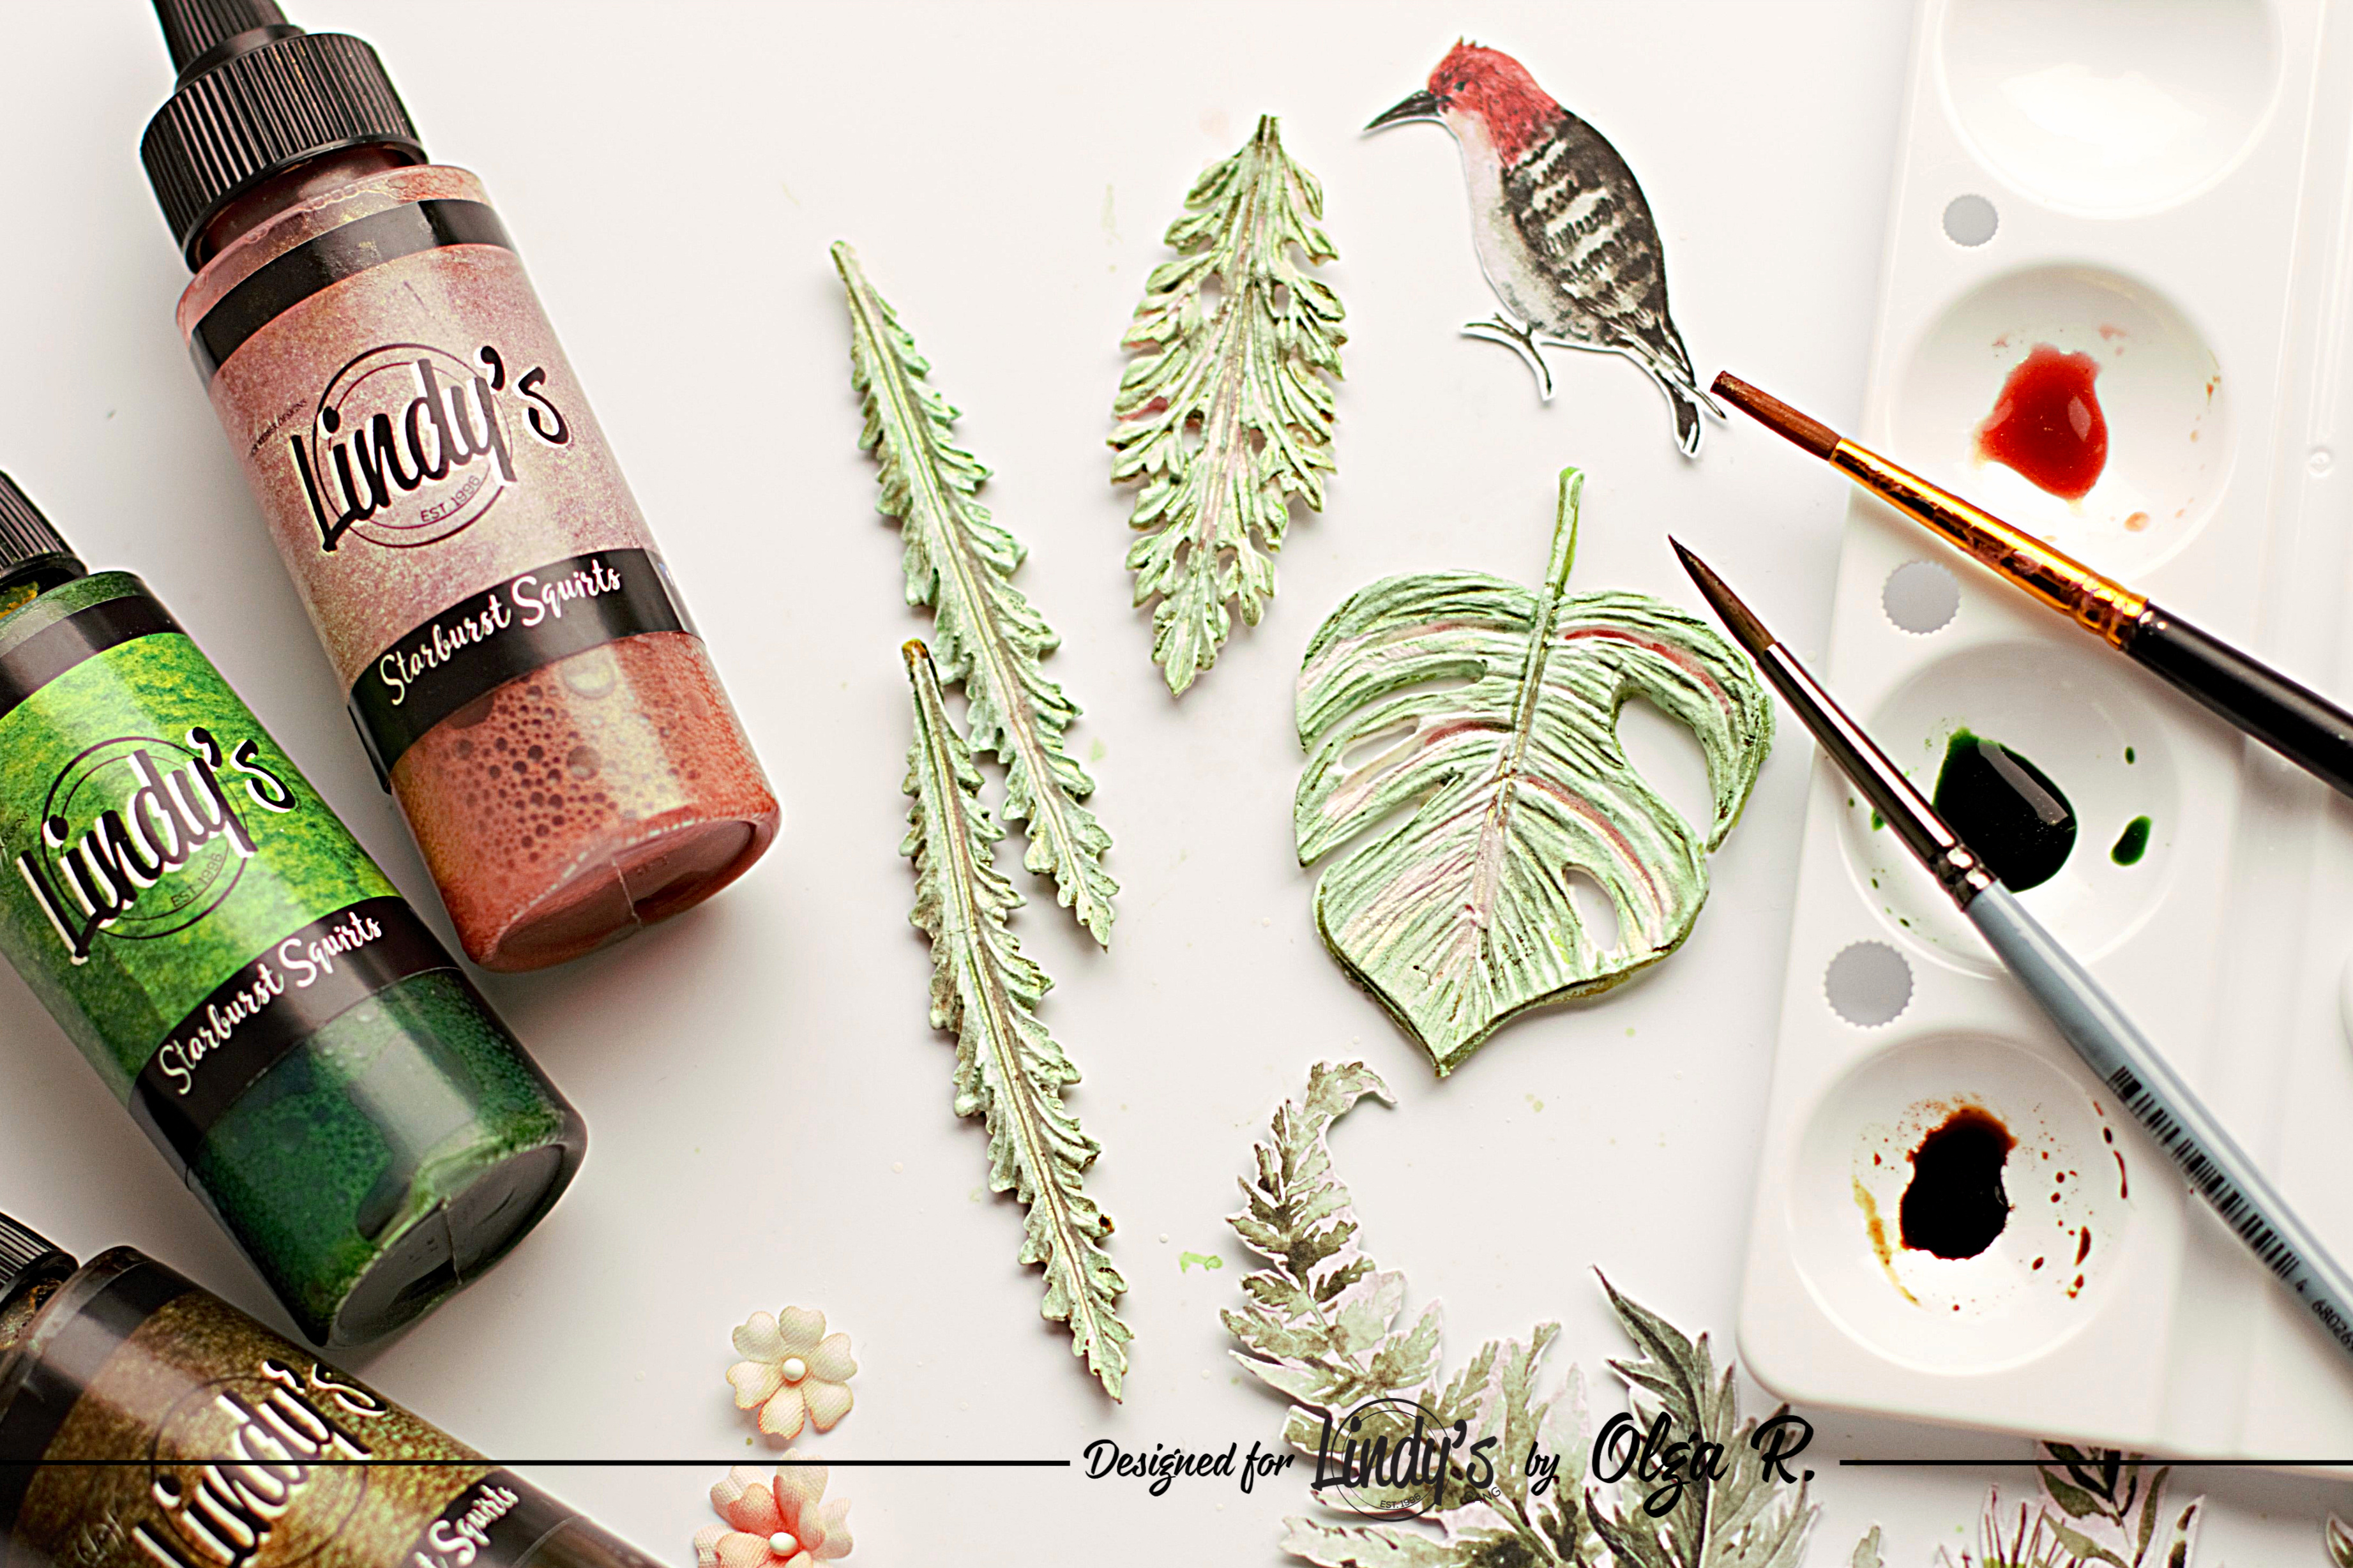
And sharing with you how I painted mould leaves to get a natural look of
them.
Firstly I used Canadian Bacon Blush to fulfil veins of the leaves.

Let them dry and apply the upper layer with Emerald Eh?! and Beaver Tail
Brown Squirts.

Dry again and add splatters.

Look how naturally looking they turned out!

Several photos of the finished work as a little inspiration.


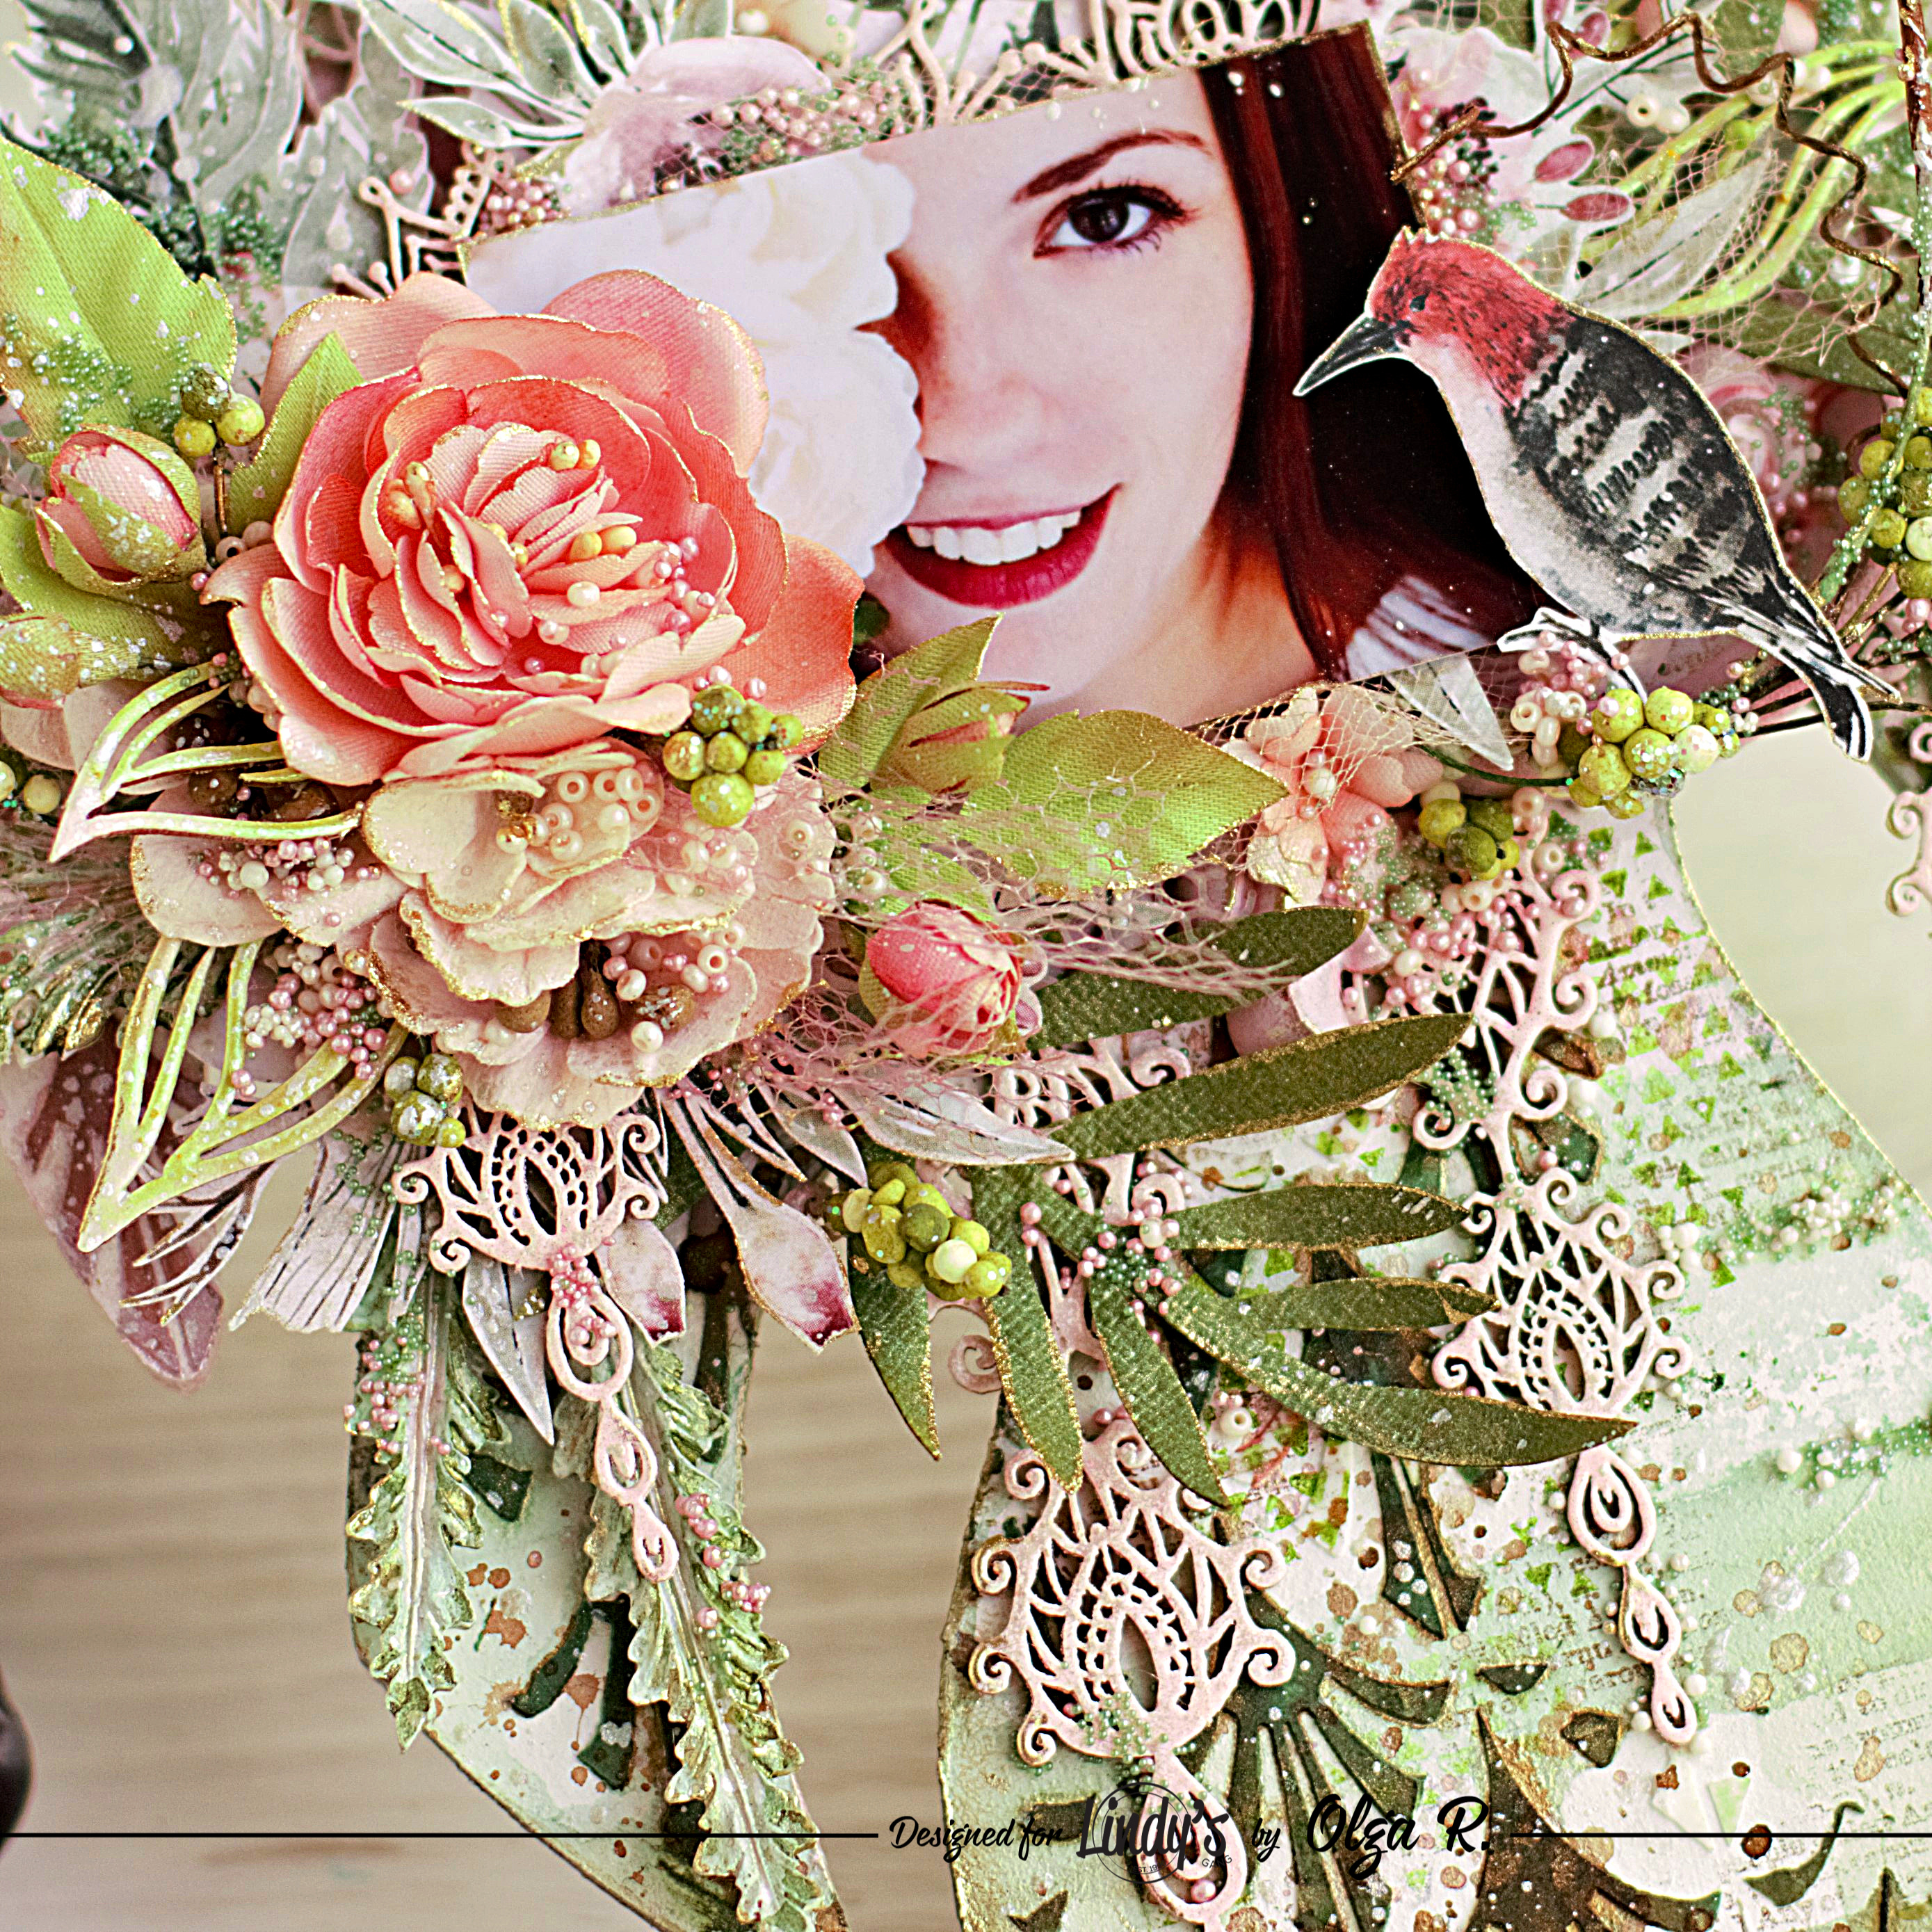
- Starbursts: Green with Envy Green, Ponderosa Pines Olive, Bodacious Blush, Cotton Candy Pink
- Flat Fabio: Chateau Rose
- Squirts: Beaver Tail Brown, Emerald Eh?!, Canadian Bacon Blush
- EPs: Hibiscus Rose Orange, Oom Pah Pah Pink, Ghouly Goblin Green
Other products: Liquitex white gesso, Ranger modelling paste, Scrapiniec
chipbord, Mintay Carola papers, 49 and Market flowers, Rukodelushka flowers,
microbeads.
Hoping you've enjoyed this post!
Thank you for stopping by!
Hugs,
Olga
****************************************************************************
Надеюсь, вам понравилось, девочки!
А у меня последний день отпуска, убегаю отдыхать))
Пишите, буду очень рада!
Оля
Комментариев нет:
Отправить комментарий